


It’s the most wonderful time of the year, which calls for the most wonderful sugar cookies and butter biscuits! And, boy, do we have a surprisingly simple technique to add a little festive flair to your favourite recipes.
Ever heard of tie-dye cookies?
You make your base cookie dough, divide it and dye it different colours before scattering it out on your workbench and rolling it together to create the most beautiful marble-like effect. You’re left with stunning cookies – each one different to the last and rather unique (much like a snowflake, would you look at that!) – and with minimal effort too.
It’s the most wonderful butter biscuits for the most wonderful time of the year!
Here’s a step-by-step guide using my family’s butter biscuit recipe – scroll down for more Food24 Christmas cookie recipes and have a crack at this simple cookie dough hack.
Make the dough
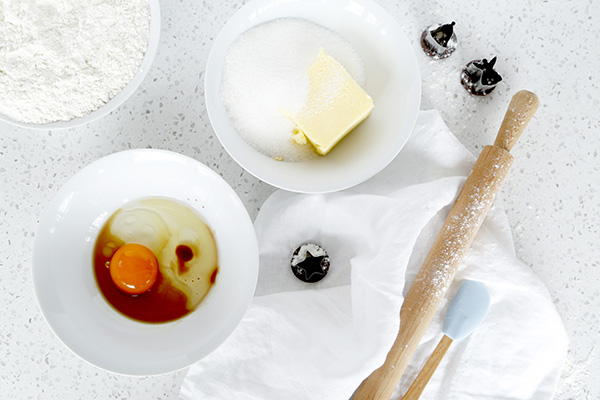
For a simple butter biscuit recipe, combine 125g butter with ¾ cup sugar. Cream the two together in a stand mixer or with an electric hand whisk until the mixture lightens in colour. Add 1 teaspoon of oil, 1 extra-large egg and 1 teaspoon of vanilla essence and continue to whisk for a few more minutes until you get a lighter consistency. Add 2 cups of flour and a ½ teaspoon of baking powder and mix through once more.
You should be left with a thicker, stiffer dough, and you need it to be too! You need to be able to roll it with your rolling pin on your workbench once you’ve dyed it.

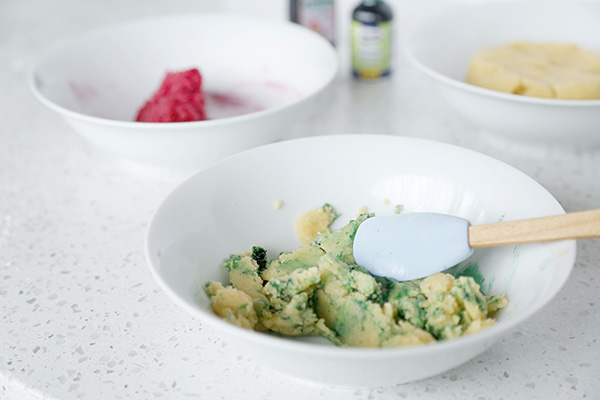
To dye your dough, divide it into separate bowls. I like to use the base colour of the dough and one or two other colours – more than that and it tends to become a bit of a colourful mess (yes, you can have too many colours).
For these Christmas cookies, I used quite a bit of the base colour and dyed two smaller portions red and green. It’s up to you just how much colouring you’d like to use, but a drop or two should do – you don’t want to taste the colouring in the final product.
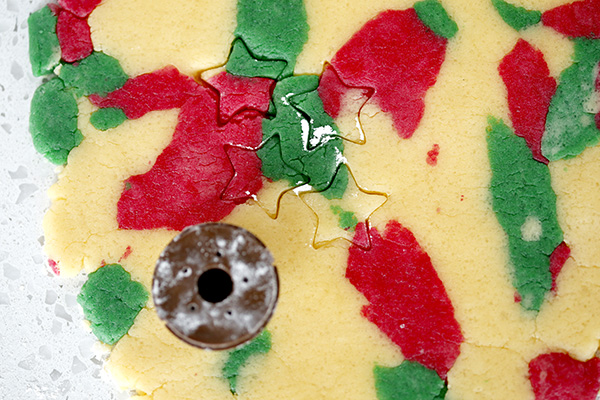
To get the effect of the tie-dye, begin by scattering each colour one by one on your floured workbench. Crumbling them with your fingertips will create a much finer and more intricate pattern.
Bring all the pieces together in the centre before rolling out your batter with a rolling pin about ½–1cm thick.
Dip your cookie cutters in flour and press out your shapes.
Repeat the process with the remainder of the dough – remember, though, the more you do this, the more the colours tend to mix. You don’t want them to bleed too much into each other and leave you with an ugly brown colour. So be careful to make the most of your dough as you’re pressing out your shapes.
Bake your cookies in a preheated oven at 180°C. I baked these little ones for 10 minutes, but bigger cookies could go for a further 5 or so minutes.
Here are a few more cookie recipes to try – and here’s wishing you a holly jolly Christmas!