


With the change of season around the corner and a winter chill beginning to set in, it’s about time to start thinking more about your oven’s full potential. Roasting a chicken, along with doing your taxes and changing a tyre, is unequivocally a life skill, and becoming comfortable doing it means that you’re one step away from warming hands-off meals.
ALSO READ: 25 Dishes you should know how to cook before you turn 25
The chicken
Though it might seem like there’s a secret to the perfect roast chicken, there truly isn’t. The best way to get the most out of your chicken is by packing it with lots of flavour boosters. Slice either a lemon or onion into wedges and pop these into the cavity, along with a couple of cloves of garlic and herbs, if you have them. Rosemary and thyme work particularly well here, but you could also add parsley, oregano or dill.
Then, gloss up the chicken with a generous amount of olive oil and an even more generous serving of salt and pepper. This step is incredibly important – make sure you’re distributing the seasoning evenly on the bird’s entire surface, and even sprinkle a little into the cavity too.
Into the oven
Now that you’re nearly ready to roast, think about the vessel you’re going to cook the bird in. A roasting tray might be the obvious choice, but think about all those little nuggets of flavour the chicken will release during cooking. You want to try and retain as many of those as possible. The best way to do this is to roast the chicken in a pan that can then go on the hob later. Something like a cast-iron skillet or casserole (with the lid off, of course) or a sturdy stainless roasting dish that can handle direct heat on the stove. This will mean that every little bit of juice or bits of flavour stuck to the pan won’t get lost in any transfer process.
Once this is sorted, it’s finally time for your chicken to go into the oven. Another little tip is to place your chicken with the thigh-side facing inwards. This is because ovens tend to be hotter at the back, so the thighs (which tend to take a little longer to cook than the breasts) can cook at a speed more in line with the breasts, which run the risk of overcooking and drying out. In terms of temperature, you want it to get some colour, so preheat your oven to about 220ºC and roast at that heat for about 20 minutes or so, then drop the heat to 180ºC. All in all, you’re looking at about an hour’s roasting time, depending on how big your bird is.


How do I know if it’s cooked?
One of the biggest hair-raisers is knowing when the chicken is done, but there are a few telltale signs. Firstly, the joints will feel a little loose, so give them a wiggle to see if they’ve softened a bit. Then you can carefully slice the meat closest to the inner thigh bone and check if there’s blood. Importantly, thighs always err on the pink side, so check for blood, not for the colour of the flesh. Don’t freak out and put it back in the oven, because there’s an increased risk of overcooking the bird.
If there’s no blood and the juices run clear, you’re all good, so take the bird out of the oven and leave to rest in the pan while you get on with the rest of your sides. Resting is crucial for any cut of meat, as it allows all the proteins and juices to relax, meaning you’ll get more to add to your gravy later. It also allows your bird to finish cooking, so if you’re doubting the chicken is completely done, I can safely guarantee you that 15 minutes of rest will finish off any underdone bits off nicely. Once it’s rested (for at least 15 minutes, but you can also leave it for up to 30 minutes in a warm place), you can get carving and serve it.
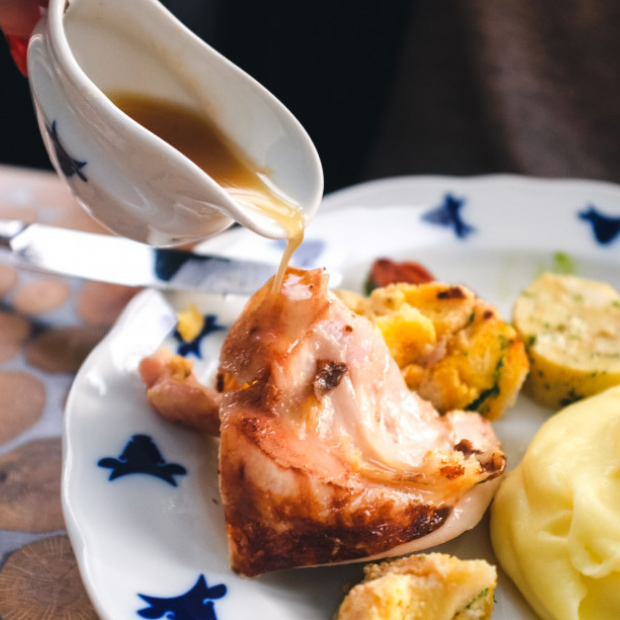
The perfect gravy
This is where you’ll see the benefit of using a stove-proof roasting vessel. After taking your chicken out of the oven, give it at least 10 minutes or so to rest in the roasting dish before moving it to the board you’re going to carve it on. Then put your roasting tray on the stove on a high heat and, once it starts to bubble, deglaze with a good glug of wine. (If you don’t have wine to spare, deglaze with water and make a note to add a sprinkle of white wine vinegar or lemon juice to your gravy at the end to compensate for the acidity.)
After deglazing, scrape up all those delicious nuggets sticking to the bottom of the pan and, reducing the heat to medium, add in about a cup of water (or stock, if you have it). Let everything reduce for a few minutes. If you need to, add more water to increase the quantity and get the right consistency. In a separate ramekin or teacup, add about two teaspoons of flour and mix to a thin paste with a little warm water. Whisk this into the gravy and continue cooking on medium heat until the flour cooks out and thickens the sauce. Check the seasoning and acidity – if you think it’s a little lacking, you can boost the flavour with a dash of Worcestershire or soy sauce, as well as a squeeze of lemon juice.Serve warm with your perfect roast chicken and that’s it, you’re done!
YOU MIGHT ALSO LIKE: How to make the perfect soufflé