

Butter is a staple in kitchens worldwide, adding richness and flavour to countless dishes. However, for certain culinary applications, clarified butter can be a game-changer.
Known for its higher smoke point and longer shelf life, clarified butter is a versatile ingredient that’s relatively easy to prepare at home.
What is clarified butter?
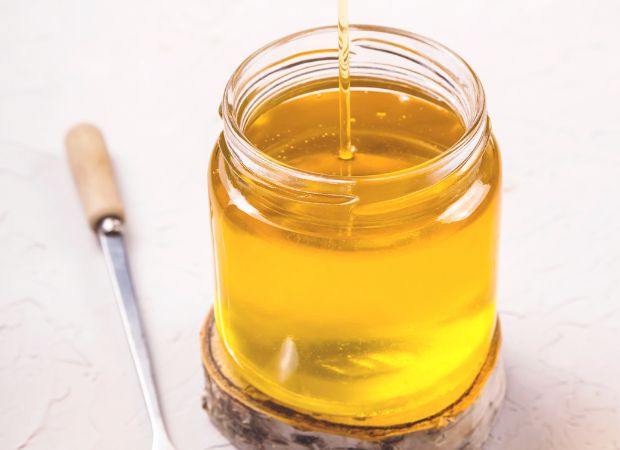
Clarified butter is the pure butterfat extracted from butter. It involves separating the milk solids and water content from the butter, leaving behind a golden, translucent liquid. The removal of these impurities results in a higher smoke point, making it ideal for sautéing, frying, and cooking at higher temperatures without burning.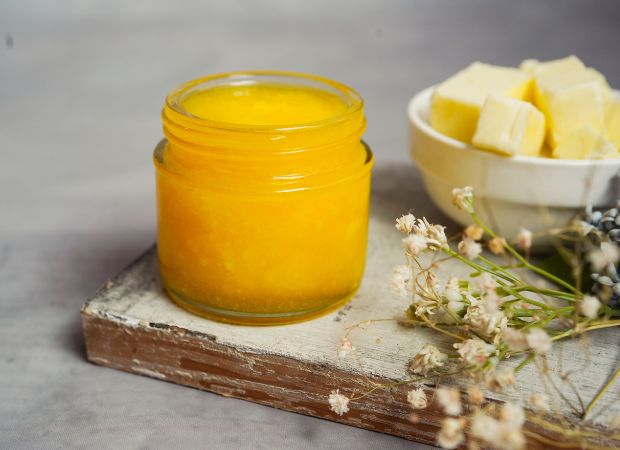
Step-by-step guide to clarify butter:
Ingredients:
- Unsalted butter
Tools:
- Heavy-bottom saucepan
- Wooden spoon
- Cheesecloth or fine-mesh strainer
- Heatproof container for storing the clarified butter
Step 1: Select the butter
Use unsalted butter for clarifying, as salted butter may alter the taste and result in a saltier clarified butter.
Step 2: Melt the butter
Place the unsalted butter in a heavy-bottom saucepan over low heat. Allow it to melt slowly without stirring.
Step 3: Simmer and skim
Once the butter melts completely, it will start to separate. The top layer will consist of foam (milk solids) while the clear liquid is the clarified butter. Let the butter simmer gently without stirring.
As it simmers gently, use a spoon to skim off the foam that rises to the surface. This foam contains the milk solids. Reserve the milk solids and see below for how to use them to avoid food waste!
Tip: If you continue to cook the butter a bit longer, until the separated milk solids turn a dark golden brown and settle at the bottom of the saucepan, you will have made ghee!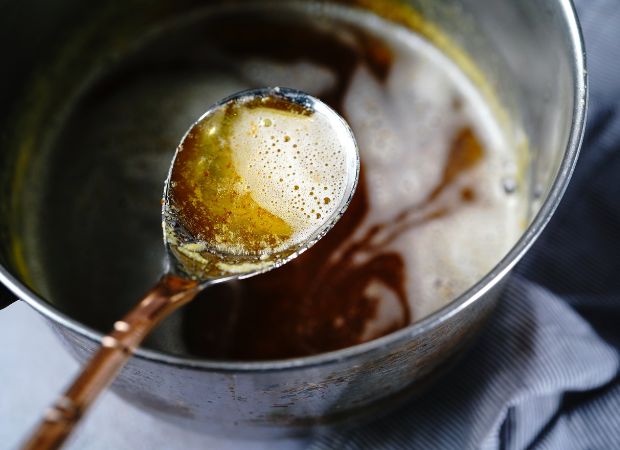
Step 4: Remove from heat
When the bubbling subsides and you notice a clear, golden liquid with sediment at the bottom, it’s time to remove the pan from the heat.
Step 5: Strain the butter
To remove the remaining milk solids and sediment, place a piece of cheesecloth or a fine-mesh strainer over a heatproof container. Carefully pour the liquid butter through the cheesecloth or strainer to separate the solids.
Step 6: Store the clarified butter
Allow the clarified butter to cool before transferring it to a clean, airtight container. Store it in the refrigerator for a longer shelf life. Properly clarified butter can last for several months when refrigerated.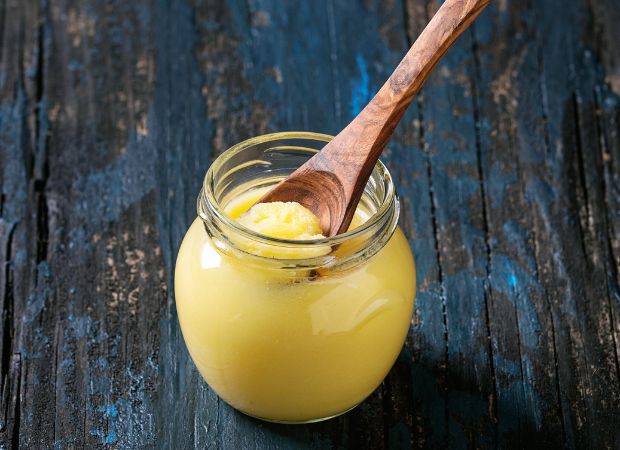
Tips:
- Use a low heat setting to prevent the butter from browning too quickly.
- Be patient during the skimming process; removing the foam ensures a purer clarified butter.
- Don’t discard the milk solids; you can reuse them in other recipes once they’ve been separated.
Here’s what to do with leftover milk solids:
‘Milk solids’ or ‘butter solids’ have a rich, nutty flavour due to the toasting that occurs during the clarification process. Here’s what you can do with them to minimise food waste:
- Incorporate the milk solids into sauces or soups for added richness and depth of flavour. They can enhance the taste of gravies, creamy pasta sauces, or vegetable-based soups.
- Use the milk solids to sauté or roast vegetables. Toss them with vegetables before roasting in the oven to impart a subtle, buttery taste.
- Mix the milk solids with softened butter or cream cheese to create a flavourful spread for bread, crackers, or bagels. It adds a delicious twist to your breakfast or snacks!
- Incorporate the milk solids into baking recipes like cookies, biscuits, or cakes for a hint of buttery richness.
- Stir the milk solids into rice or risotto just before serving to infuse the dish with a subtle buttery flavour.