

You know what the best part of baking is? (Besides the eating, of course). The most incredible thing about baking is that unlike cooking, you begin with ingredients that don’t at all resemble what you end up with. You’re always making something entirely new. It’s just so magical! Although, let’s be honest, sometimes what comes out of your oven is not quite what you had in mind.
Enter my 11 tips that are guaranteed to turn you into a better baker – these are all the tricks and hacks I’ve learnt over the years – basically, I’ve done all the hard work, so you don’t have to!
1. Read through the recipe first
This is something I am ALWAYS guilty of not doing. But there is nothing worse than getting halfway through a recipe and then realising you need a sugar thermometer or liquid glucose, which you don’t have.
2. Preheating the oven
Figure out whether you have a conventional or fan-forced oven. What difference does it make you ask? Well, a good 20 degrees celcius difference, that’s what! Usually a recipe will give the conventional temperature i.e. 180 C. If you have a fan-forced oven, you’re going to need to drop that down to 160 C.
While we’re talking about ovens, get to know yours intimately – like any good relationship! You need to learn what it likes, where its hot spots are and how to avoid them!
TIP: How do I know where my hotspots are? By baking a cookie tray scattered with an even layer of flour for 5 minutes at 180C until it starts going golden! The spots that brown first are the hottest parts of your oven – avoid those by turning your cake or cookies halfway through baking.

3. Line the baking tin properly
My WORST part of baking (other than the washing up) is lining a cake tin. But all your hard work will go in the bin if the cake sticks and breaks. It’s a little bit of effort that is so important.
TIP: Line a spring-form cake tin quickly by tearing a square of baking paper big enough to fit the bottom. Lay it over the base of the tin then pop the ring over and secure – no cutting circles. You’re welcome.
4. Use the correct size baking tin
I know, reading numbers at the beginning of a recipe makes me want to fall asleep too, but they’re quite important. If you use a cake tin that’s too small, it will not only take forever to cook – but it will also dome up and crack in the middle. Too large and your cake will be flat and dry. Once you become more experienced, you can start substituting the baking tin sizes, but for now, invest in 2 x 22cm round cake tins and those should be used for just about every cake recipe.
5. Baking substitutes
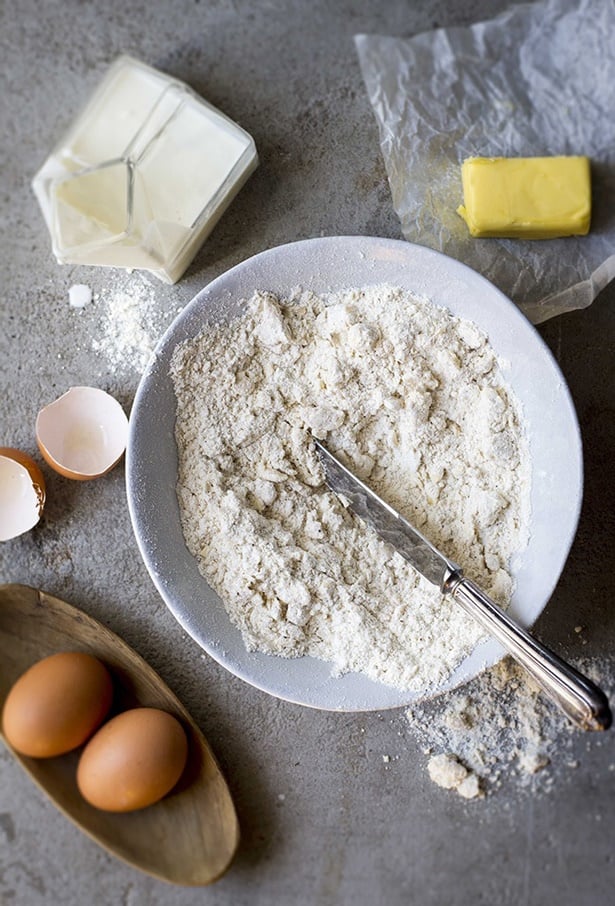
Ah so you THOUGHT you had butter but you don’t. Oops. While it’s not advised to just wing it and substitute ingredients, there are a few that are worth remembering:
– Melted butter can be substituted for vegetable or canola oil in batters
– Make your own self-raising flour: 1 cup cake flour and 2 tsp baking powder
– Buttermilk can be swapped out for plain yoghurt or sour milk
6. Creaming butter and sugar properly
When I say properly, I mean put the stand mixer on and walk away. We’re talking about at least 8 minutes – enough time to have a cup of tea. The butter should be white and extremely fluffy while the sugar almost completely dissolved. Properly creamed butter and sugar will give you the perfect texture in cakes and cookies and it makes the world of difference!
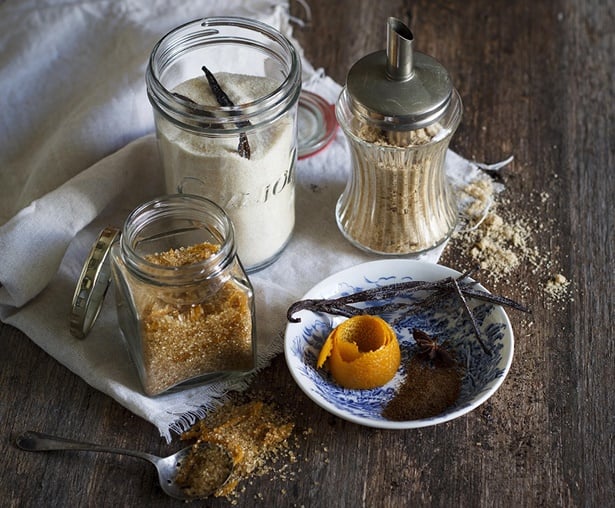
7. How to soften butter
I do this all the time. I decide I want to bake but the butter is in the fridge. So I take it out and microwave it but then end up with a butter puddle. The trick is to microwave THE SUGAR. Then cream it to with the cold butter. The heat from the sugar will gently soften the butter. Genius right?

8. Baking at altitude
We live in a country where our two main cities have very different altitudes. While Cape Town and Durban are at sea level, Joburg is a whopping 1700m above sea level. Altitude has a huge impact on baking – particularly in ingredients like baking powder, bicarbonate of soda, sugar, eggs, liquid and of course baking time. If you’re based in Joburg, it’s best to make the following adjustments to recipes:
Reduce baking powder: for each teaspoon, decrease by 1-2ml
Reduce sugar: for each cup, decrease by 2 – 3 tablespoons.
Increase liquid: for each cup, increase by 2 – 3 tablespoons.
Increase flour: for each cup, increase by 1 tablespoon.
Increase oven temperature by 10 degrees C.
9. Baking times are not law
Baking times should only be a guideline – set the timer for 5-10 minutes less that the baking time stated in the recipe and check. Rather use the description – eg. springy to the touch, or a skewer inserted into the middle comes out clean.
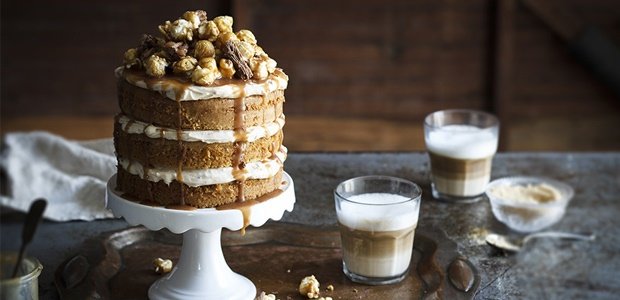
10. How to frost the perfect cake
Here’s a tip food stylists probably don’t want you to know; freeze your cake layers for 1 hour before you start assembling. Not only will the sponge be easier to work with, the layers will be rigid so there’s less chance of your cake being wonky. As you pipe or spread the frosting onto the cold layers, the frosting will set which gives you a sturdy, perfectly straight cake.
11. How to cut the perfect slice of cake
How do food stylists get that perfect slice of cake in a photograph? Hot water and a sharp knife! Dip your knife in boiling water for 30 seconds, then wipe it clean and slice the cake, wiping the blade in between each slice to prevent streaking.
ALSO READ: Confusing cake decorating terms explained
Follow The Kate Tin on Instagram and check out her beautiful baking website.