

Risotto scares the pants off people. It’s right up there with meringues and poached eggs on the terror scale, which is earned – though it may be humble, risotto requires careful consideration, attention, an orchestration of timing, patience, and lots and lots of stirring.
And we’re not here to reinvent the wheel or give you a mythical recipe to end all recipes. The beauty, and trickery, of risotto is that it’s seemingly so easy. All recipes have the same core: Sweat off some onions and garlic, add the rice, then the stock slowly, and finish with cheese and butter. It’s certainly more difficult than that sounds but, once you know which potential slip-ups to look out for, it’ll all be plain sailing from there.
You can’t hurry love, or risotto
When making your risotto, you do need to be focused and give yourself a generous amount of time. Think of this as a type of me-time. (As in, ‘There will be shame on me if this burns because I went to answer a text instead of paying attention to it’.) Start with the base that your recipe suggests – most likely finely chopped onions and garlic – and make sure you give the onions enough time to soften before you add the rice.


Toast it
While adding the rice to the onion and garlic may seem like a simple step, it’s crucial to ensuring the best texture. Here, you’re coating the rice grain in olive oil (or butter, if that’s your preference), which ultimately forms a light protective layer around it. This helps the rice cook more evenly, by preventing the outside from becoming mushy while the centre is still raw.
You’re also adding flavour here, as the toasting will impart a nuttier flavour. Again, take your time with this, stirring the grains until you can smell the nuttiness. Then you can move on to adding wine, if you’re using any.


The liquid
If your recipe calls for stock and you have stock, go ahead and use it. However, stock won’t make or break a risotto (shocking, I know), and I’ve had success with a rind of Parmesan in some warm salted water. You’ll also want to avoid shocking your grains, so have your liquid at a temperature similar to that of your rice. Then, when your wine has cooked off, you’re ready to roll with the big moment – stirring.
The big moment
Think of risotto as any rice. You want to manage the cooking so that the liquid doesn’t cook away too quickly and there’s enough of it to cook the rice. Medium-high heat is the ideal, so things go a little slower. And remember, you can always add more liquid to undercooked rice, but you can’t save a mushy, overcooked, over-agitated risotto. So, add your first half-cup or so of liquid and stir in gently – until the liquid is nearly absorbed – before adding your next batch, which should take at least three minutes.
This will sound crazy, but you almost want to hear your rice grains calling out for more water, meaning you’ll hear when the liquid is nearly gone. Repeat this process, tasting the rice as you go, until you’re left with a risotto that you might look at and think “This is a touch soup-y”. Don’t fear the soup-y, we like the soup-y. It’s the difference between a stodgy, cement-like risotto and one that is somehow decadently creamy and light at the same time.
Don’t overcook
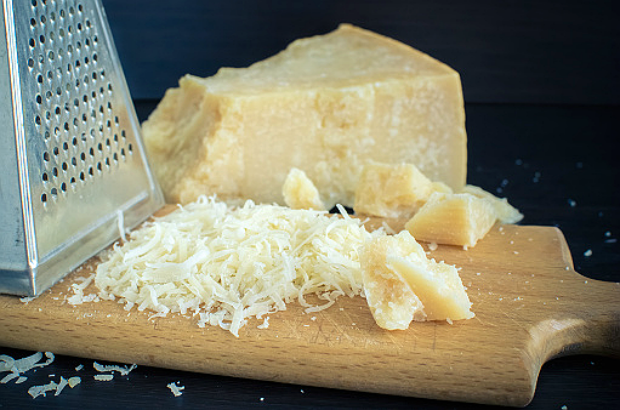
Please, for the love of all things holy, don’t overcook your risotto. You’ll know the rice is ready to come off the heat when the grains taste exactly how they look: a little soft on the outside with a delicate al dente centre. Once your grains are at this point and your risotto is erring on soup-y, remove it from the heat and add a generous amount of grated Parmesan and butter. Next you need to taste it and gauge whether you’ve added enough – you want the butter and cheese to have transformed the dish into something even creamier.

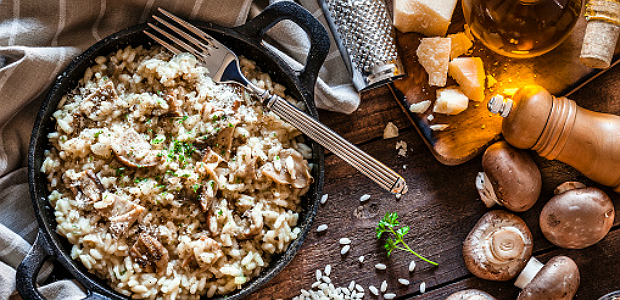
Once that’s done, it’s time to add in any fun things you want, like roasted mushrooms, pea puree, or even a slow and sticky braise.
Give yourself a creamy carb hug with these 10 risotto recipes
ALSO READ: Your go-to guide to making gnocchi