

Make herb nests
Herb nests are essentially the same as herb wreaths, but smaller. Herb wreaths hang on your door and welcome you home, while herb nests are quaint, sit on your plate and welcome you to your meal. Here’s how to make one:
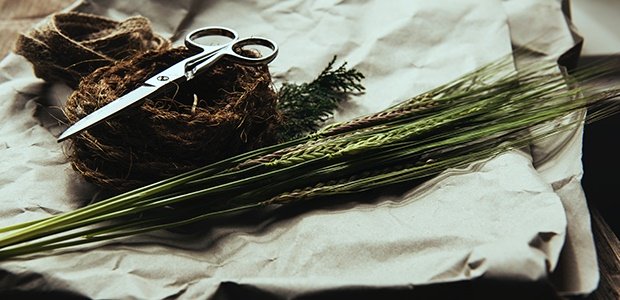
1. Cut a few sprigs of herbs. Lavender, rosemary, thyme and oregano all work best for this. You want something a little more twiggy, not soft-stemmed herbs.
2. Bend one of your herb branches into a curve and, with another herb branch overlapping its bottom end (you want the leaves pointing in the same direction), tie the branches together using either a pipe-cleaner, thread, small cable ties or wire.
3. Taking a third branch, complete the circle. Be sure to keep the cut end of the twig underneath the foliage. You want your circle to fit more or less around the base of a wine bottle.
4. Then, taking a few shorter sprigs, stick them into your main herb branch circle – again, making sure the branches point in the same direction. The point here is to make your herb nest look nice and dense.
A herb nest is best enjoyed with a boiled egg and should last a couple of days. When dry, they can be hung in the kitchen to bring mindfulness to the privilege of nesting.


Bake bread nests
Think of a bread nest as a kitka bread with its ends meeting up. All you’ll need for this nesting practice are:
A reliable and easy bread recipe
Patience
1. Once you’ve gone through the recipe and you’re at the stage where you would bake it, split the dough into 3 balls.
2. Gently roll each ball into a long bar, but not so vigorously that you knock out all the trapped air. You want the bars to be about 40cm long and about 3cm in diameter.
3. On a cleared countertop, lay the three bars in a “T” shape with their ends touching. Press them together slightly. Use a bit of water if needed.
4. Then begin “braiding” the bread, starting with the right bar and lifting and folding it over so it lays in the centre of the other two bars. Continue alternating left and right until you have a kitka – or challah-like braided bread.
5. Now, gently manipulate your braided ends together so they form a braided bread nest.
6. Leave this to rise for another 30 minutes, brush with egg yolk and then bake as per the recipe.
May these Easter-inspired “nesting” practices turn this into a time of mindfulness and gratitude.