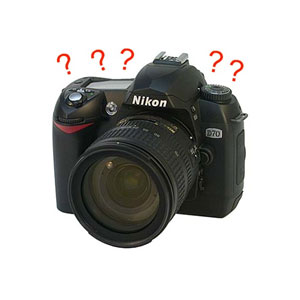
Get to know your camera
It goes without saying that you should get to know how your camera works. Read the owner’s manual. You will be amazed to find out what even the smallest digital camera can do.
When you have a more advanced camera, learn to know more about aperture control, white balance, f-stop etc. More importantly take your camera off AUTO MODE setting. You will never learn what your camera can or can’t do while you use that setting.
A great idea
A good food photograph always start with an idea, usually sparked by something you see or read or an interesting ingredient. In my case, the photograph is not the end of the process, but the beginning.
If I see or buy a fresh fruit or vegetable or see a beautiful piece of crockery, it triggers a thought. So before I even start cooking, I have an idea of where I am going with this photograph. Simply because sometimes it is better to make something in a smaller portion, or in a different container.
If you are serious about food photography, taking a snapshot of your finished meal is not the way to go.
Planning is vital.
Light
The debate is always whether to use natural or artificial light. For the amateur photographer it is always best to learn how to utilize and capture natural light. If you know how to work the f-stop and aperture on your camera and you know the basic food Photography setup, you are well on your way to capture a winning image.
If your kitchen or studio has limited natural light, you can make this inexpensive lightbox. Walk around in your own home or garden and you will be amazed to see all the beautiful spots with natural light you will find.
– Shoot in the mid-morning, middle of the day or early afternoon for best natural light.
– Find a large window or open door and position your food near the light source.
– Use a piece of white cardboard or Styrofoam to bounce light back from the source onto your picture.
Composition
Keep it simple. Remember, the focus should be on the food not the fancy cutlery or crockery you have. Props are merely there to highlight the food or create a warmth or atmosphere to your image. Be careful not to over-crowd your image with too much detail.
The rule of thumb is to always use the triangle setup for your food with your focal point in the centre. With food photography, like so many other things in life, less is more.
Fast food photography
It is very difficult to take good images when hubby and the children are sitting at the table moaning and groaning while you are running around trying to find the right spot.
Set up the “scene” and all your camera equipment before you even start cooking. Find the right spot in your house and be ready when the food is ready.
Tripod and Cable release
If you do not have a tripod, get one. It is vital to stabilize your camera and it helps to free up one hand to hold diffusers and bouncer boards. If you are using a compact camera for your shots, you should absolutely always shoot with a tripod no matter what. Even when you do have your camera on a tripod, there might still be a slight shake when you press the shutter.
A cable release is another handy tool to use in food photography, especially when you are working in very low light. It is also difficult to get a feel for the image through the viewfinder. When taking a photo of dripping sauce or steam, waiting for the perfect moment is vital and difficult to see through the viewfinder. When trying to getting those intricate shots, don’t be afraid to hold the button down.
The wonder of digital photography is that you can choose the winning picture afterwards. Take as many pictures from different angles and heights. Don’t be afraid to be daring and try new things.
Good luck!
Visit My Easy Cooking blog here.

